Delicious Vanilla Scones Recipe: Easy and Quick
Disclaimer: This post may contain affiliate links. Please read our privacy policy.
Vanilla Scones are a delightful baked treat characterized by their tender, crumbly texture and rich, buttery flavor. Infused with a hint of vanilla, these scones strike a perfect balance between sweetness subtlety. They’re the perfect pairing to a cozy cup of coffee or tea!

If I had to choose a pastry to live with forever, it would be a scone, hands down. They are easily a favorite of mine for several reasons. One being they’re not super sweet. I never get that “ugh I shouldn’t have eaten that” feeling after I enjoy a scone. They settle perfectly in my stomach. Another reason is the rich buttery flavor with the soft yet tender texture of a scone. They melt and crumble in your mouth at the same time…big fan of that! Scones are also so versatile. This recipe can be used to make all different types and flavors of scones. Check out my recipe for Orange Scones and Cherry Almond Scones as an example of how easily this recipe can be adapted! Lastly, scones are actually very easy to make! They mix together quickly and bake quickly allowing these to be easily whipped up at any time! Let’s take a look at how to make them!
Ingredients for Vanilla Scones
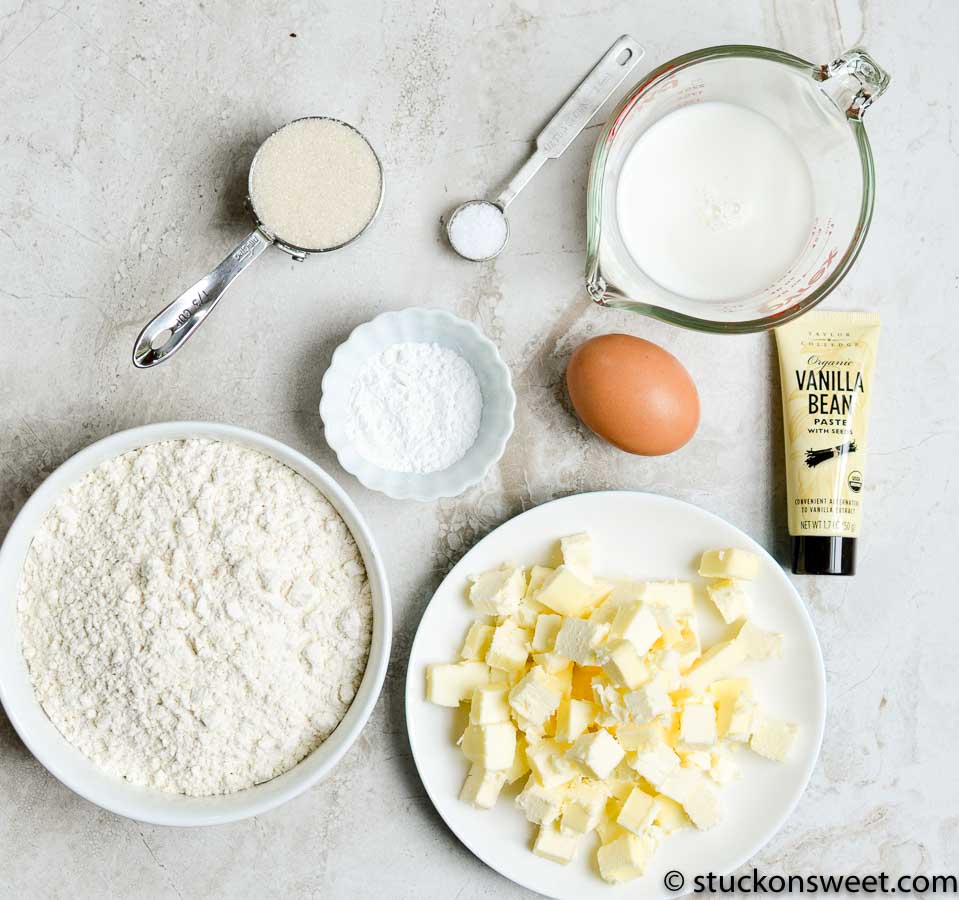
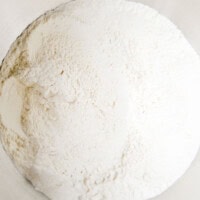
- All Purpose Flour: All purpose flour is the base for this recipe helping give these scones a tall rise while holding their shape.
- Baking Powder: Baking powder is the leavener that helps these scones puff up.
- Salt: Salt helps balance the sweetness in baked good and brings out the flavor of the vanilla and butter.
- Sugar: Sugar helps give the scones just enough sweetnesss without over powering the butter and vanilla.
- Milk: Milk helps keep the scones moist and rich. I prefer to use whole milk, but any fat percentage will do.
- Egg: One egg helps bind together all the ingredients.
- Cold Butter: Butter helps gives the scones richness along with flavor. It also helps create the crumbly yet soft texture that scones are known for.
- Vanilla Bean Paste: Vanilla bean paste is more concentrated than pure vanilla extract as it has the vanilla bean seeds in it. I love using it when I want the vanilla flavor to be very prominent. If you don’t have the paste, pure vanilla extract will work, too.
Now that we know the simple ingredients to make a scone, let’s take a look at exactly how to make them!
Instructions:
I’m going to break down how to make these vanilla scones with pictures and descriptions so you can see the process visually! I find this helpful when it comes to making a pastry as there are a few steps involved.
Helpful Tips for Success
- Prepare all of your ingredients ahead of time. I find this super helpful so you don’t accidently leave anything out or start to feel overwhelmed.
- Make sure the butter is very cold. I suggest dicing it into cubes and placing back in refrigerator until you’re ready to use it.
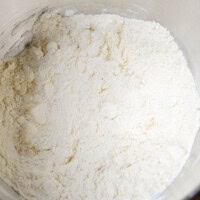
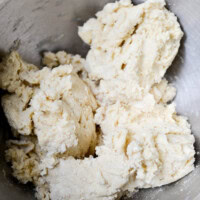
- I use a stand-alone mixer fitted with a paddle attachment. I find this to be the easiest way as it does all the work for you. You could also use your hands to mix the dough or a pastry blender. The most important part is to not over-mix the dough. It should come together, but also be crumbly. See picture above.
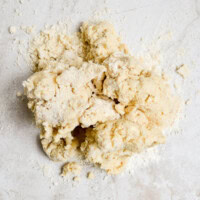
- Gently knead the dough just until it comes together to form a mound or a ball before rolling it out. Over-mixing will prevent the scones from being crumbly and tender.
Now onto the vanilla glaze!
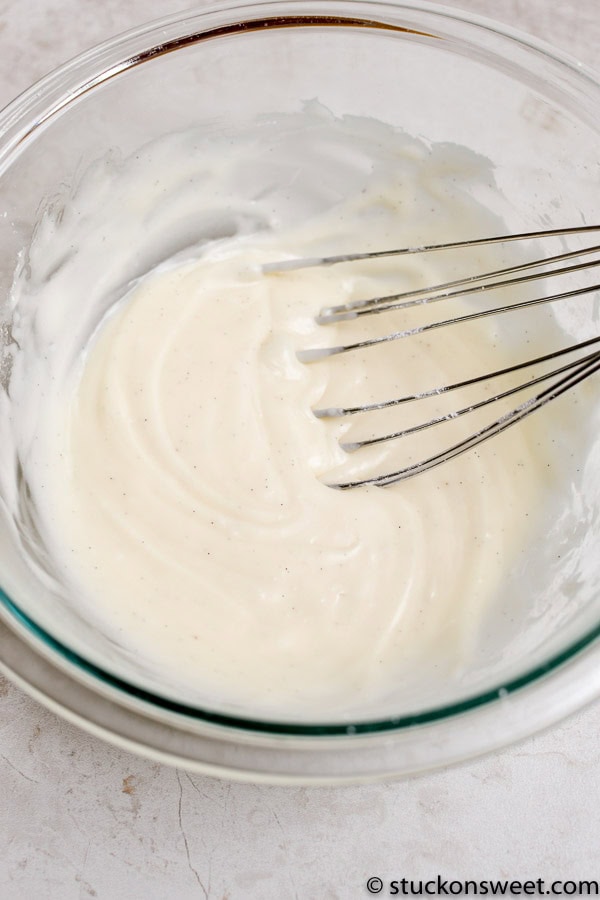
Vanilla Glaze Ingredients
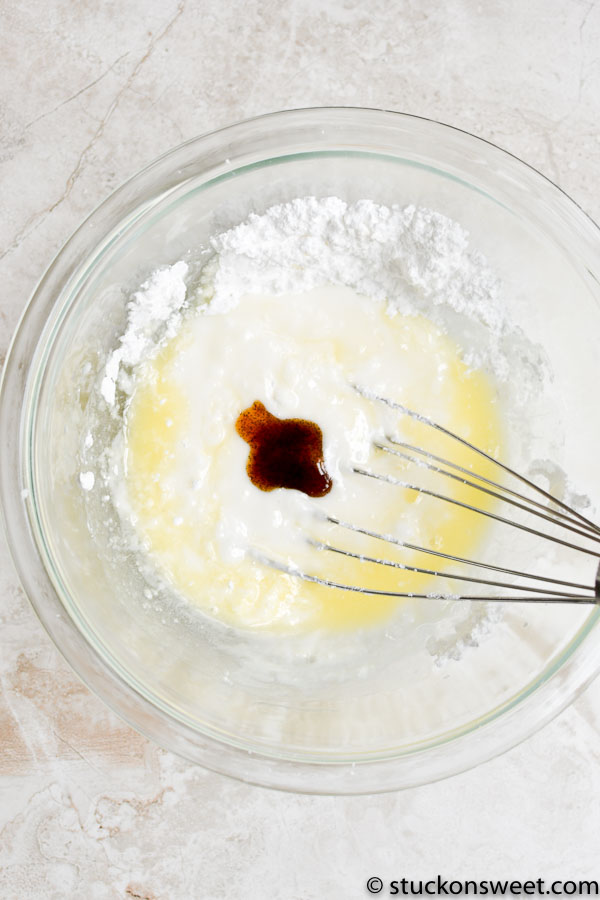
I love to add a glaze on top of my scones. I love the added sweetness, but I also believe it helps keep the scones moist. Glazes are incredibly easy to make. Simply mix all the ingredients together until smooth.
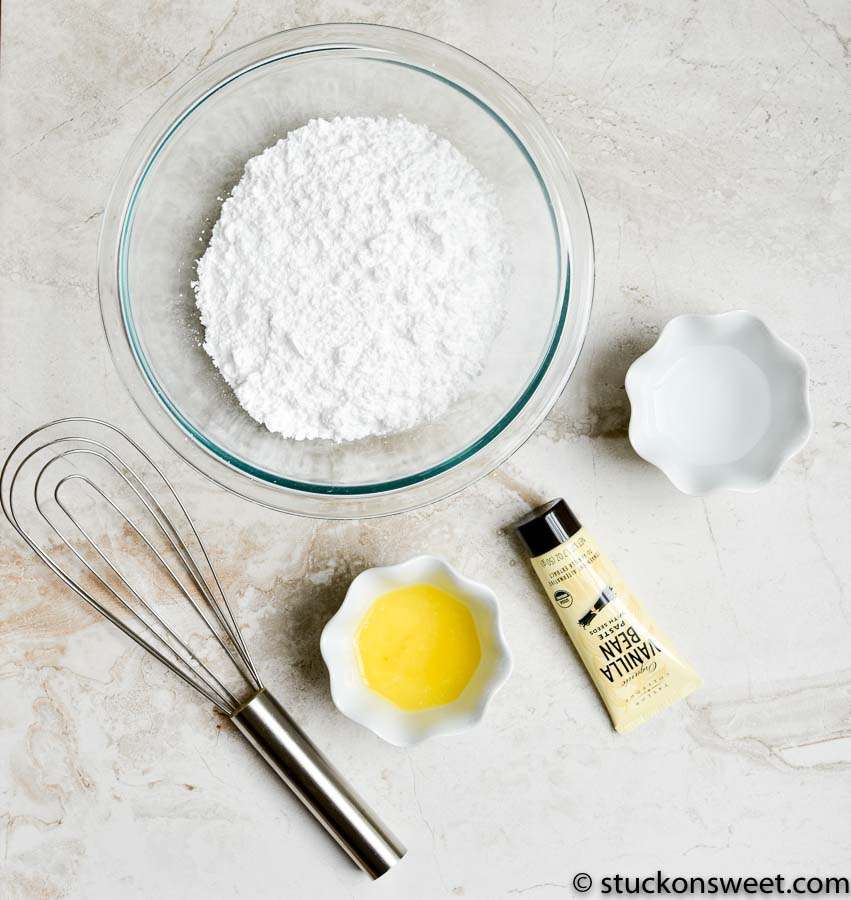
- Powdered sugar: The base for all glazes! It soaks up liquid to create a smooth frosting.
- Melted butter: The butter helps give the glaze structure, allowing it to stay thick as it cools.
- Vanilla bean paste: The paste gives the glaze flavor. I love the specks in there!
- Water: Water helps thin out the glaze.
Tips for vanilla glaze success
- Use room temperature water or slightly warm water to help prevent clumping.
- If the glaze is too thick, add 1 teaspoon more water and whisk again.
- If glaze is too thin, add a few tablespoons more powdered sugar and whisk until you reach the consistency you want.
- You can always test the glaze onto a cooled scone to make sure it’s right. It should run down the sides, but also be thick enough that it coats the top of the scone.
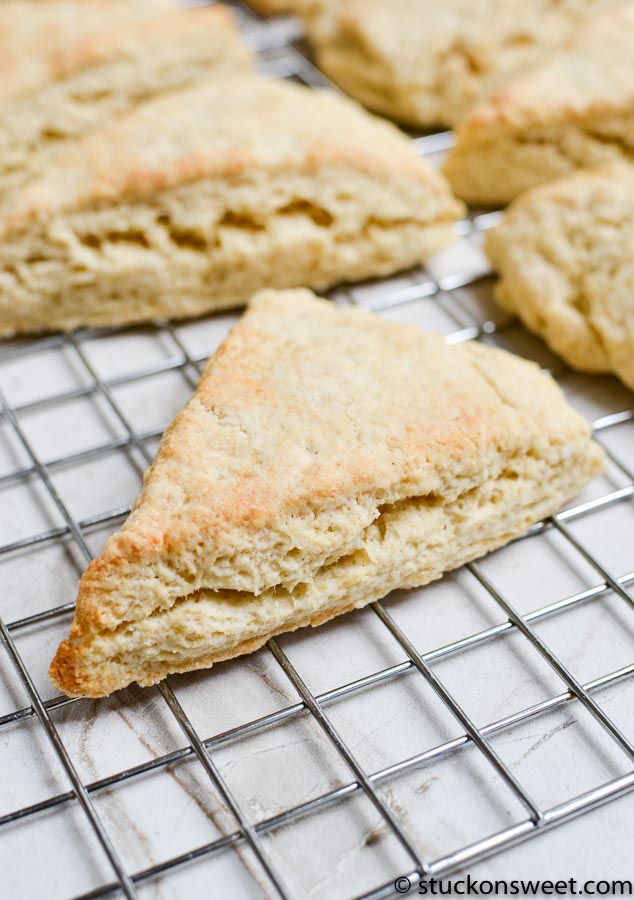
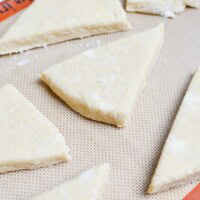
A beautifully baked vanilla scone! They should rise nicely and be slightly golden around the edges. After they have cooled, they can be glazed.
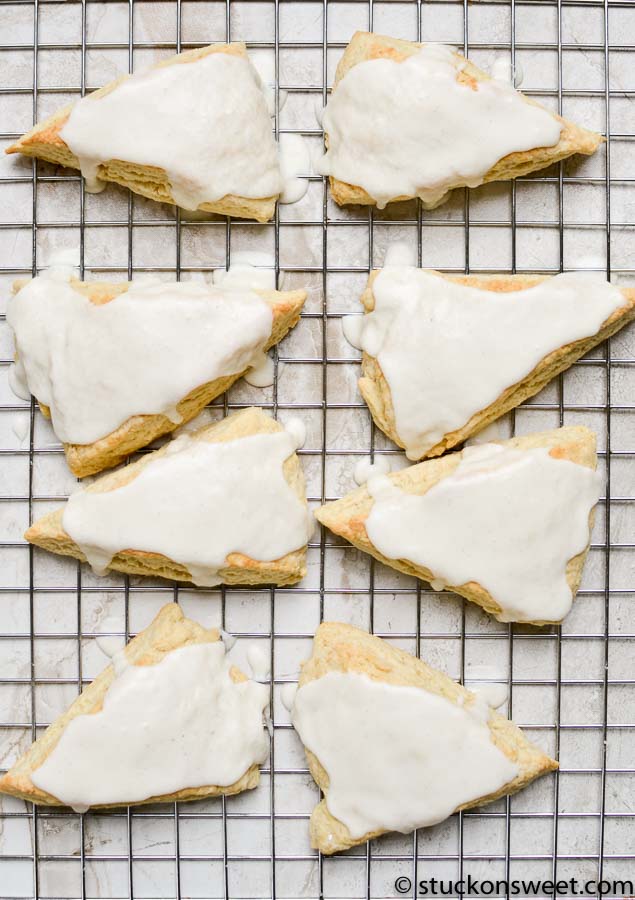
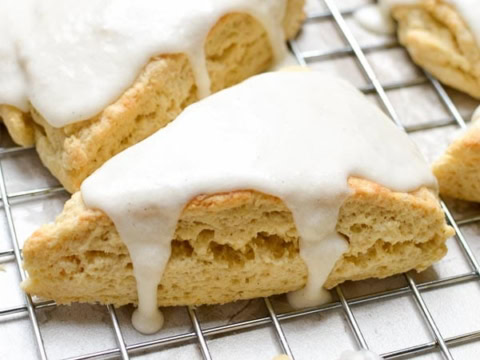
As you can see, the glaze is nice and thick yet runs down the sides. Since this recipe has no additional ingredients that provide sweetness like a berry or dried fruit, I highly suggest doing a thick layer of glaze on top!

Vanilla scones are a versatile pastry, suitable for breakfast, brunch or a cozy afternoon snack! Bake a batch of these for your friends, neighbors, family or just for yourself…you won’t be disappointed!
Vanilla Scones
Vanilla Scones are a delightful baked treat characterized by their tender, crumbly texture, and rich buttery flavor, Infused with a hint of vanilla, these scones strike the perfect balance between ssweetness and subtletly.
Ingredients
- Scones:
- 2 1/2 cups all-purpose flour
- 1/2 teaspoon salt
- 1 tablespoon baking powder
- 1/3 cup granulated sugar
- 1 egg
- 1/2 cup milk (prefer whole, but any kind will do)
- 1 tablespoon pure vanilla extract (I used vanilla bean paste)
- 3/4 cup cold unsalted butter, cubed
- Vanilla Glaze:
- 1 3/4 cups confectioners sugar
- 3 tablespoons room temp water (may need more)
- 2 tablespoons unsalted butter, melted
- 2 teaspoons pure vanilla extract (I used vanilla bean paste)
Instructions
- Preheat oven to 425 degrees and line a baking sheet with parchment paper or a non-stick baking mat; set aside.
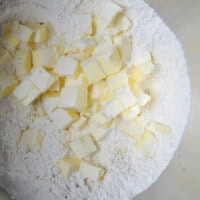
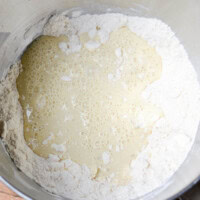
- In a stand-alone mixer fitted with a paddle attachment mix together the flour, salt, baking powder, and granulated sugar. Add cold cubed butter and mix on low-speed until course crumbs forms - careful not to over-mix. (see picture above for a visual)
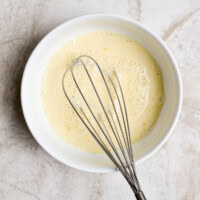
- In a small bowl, whisk together the egg, milk, and vanilla then add it to the mixer and mix until dough comes together. It will be crumbly.
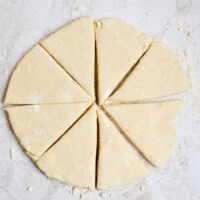
- Sprinle a light dusting of flour onto a clean service and kneed dough just a bit until it comes together. Form it into a circle about 1 inch in thickness. You can use a roller or use your hands to form a circle.
- Next, use a knife or pizza cutter to cut scones into 8 wedges. Place on baking sheet. Bake for 10-14 minutes (mine baked for 13) or until edges are slightly golden. Remove from oven and place on a cooling rack to cool.
- While scones are cooling, add all the glaze ingredients into a bowl and whisk - glaze will be slightly thick but should drizzle off a spoon. If it's too thick, add 1 teaspoon of water and whisk until you reach the consisteny you want. If it's too thin, add a few tablespoons more powdered sugar and whisk until desired consistency. Use a spoon to spread glaze over cooled scones. Let stand until glaze is set. Enjoy!
Notes
Store in an airtight container for up to 3 days. Can be frozen for up to 3 months with glaze!


Jessica Erin! There are no words except that these are utterly amazing! I followed your recipe exactly with the exception of using a pastry blender instead of my kitchen aid mixer and adding the innards of a whole vanilla bean split between the scone and glaze. I’m a night shift maternity nurse and just made these at midnight for an English friend of mine who is battling breast cancer. (The English love their scones!) I couldn’t have found your recipe on Pinterest at a better time. Thanks so very much for posting. Hope your little one is healthy and able to enjoy this confection one day!
So happy you friend enjoyed them! Thanks for sharing your kind comments and sending all the love and prayers to your friend!
I’ve made these at least twice a month since I found this recipe and they are by far the best scones I’ve ever had. Moist and flaky and such a wonderful basic vanilla scone to work with to change the flavor profile. My kids love it when I add in chocolate chips!! Thanks for a great recipe!
You’re so welcome! Glad you and your family like them!
Hi Jessica! How far in advance have you made these? I’m hoping to make these for Christmas morning at my parents and wondering if they’ll be ok for a few of days while we travel or if I should opt to make them there. Thank you!
Hi Jill! A few days should be fine, just make sure they are tightly covered. Enjoy!
Oh.My.Gosh. I just made these 30 minutes ago and i am in LOVE! I have been craving scones for the last week and these definitely fixed my craving 🙂
Thanks!
So glad you love them!
Have you ever made these onto mini scones?
I haven’t, but I don’t see why it wouldn’t work. I would just watch them to make sure they don’t burn…they might not need as long in the oven.
I make 16 small scones instead of 8. Easier for the little hands and tummies to handle. Cut the bake time to approximately 9 minutes.
Made these this afternoon for my friends and I to eat tomorrow morning. They turned out beautifully, and I added half a vanilla bean to the icing and they are perfect! Thanks for the awesome recipe 🙂
So glad you enjoyed them! I just love scones and this recipe is a favorite of mine! Thanks for the comment!
Can I add fruit to these?
sure! Just make sure they are not too wet.
These are my go-to scones. So much better than other scones. But, I went blueberry picking and would love to try a blueberry scone. Do you have any tips for how to modify this recipe to include fresh blueberries?
so glad you like it! I would toss them with a little flour and just fold them in!
My daughter made these today. They are WONDERFUL!
If i substitute the vanilla bean paste for just liquid pure extract, will it still turn out the same, just without the flecks of vanilla?
Hi Sasha – yes that should be fine! Enjoy!
These are amazing! I used a different glaze but the scones themselves were perfect. Nice and flaky and soft. My family loves them!
Wonderful Susan!
I love a good scone for breakfast! Can’t wait to try these!