
Best Rice Krispie Treats Recipe (Perfectly Soft & Chewy!)
Disclaimer: This post may contain affiliate links. Please read our privacy policy.
If you’ve ever bitten into a homemade Rice Krispie treat only to feel like you’re chewing on a sweet brick, you are not alone. For years, I struggled to make a version that stayed genuinely soft for more than five minutes. But after making these dozens of times in my own kitchen and testing every variable, I’ve finally perfected the ultimate recipe.
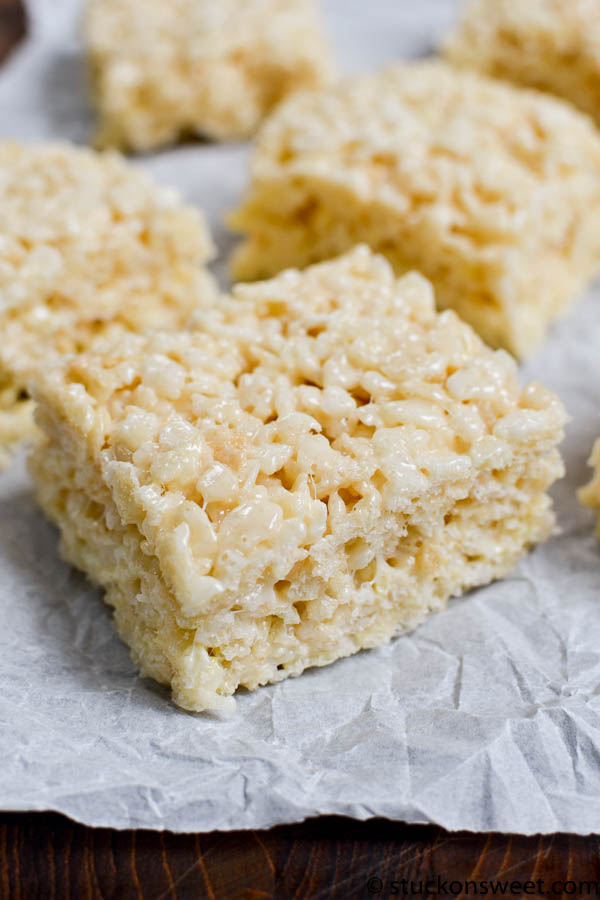
These are the absolute best rice crispy treats you will ever make—soft, deeply buttery, incredibly gooey, and shockingly easy. In fact, this recipe is so straightforward that my kids regularly make them entirely on their own on a random afternoon!
By blending my simple marshmallow-melting technique with a subtle touch of browned butter, we elevate this nostalgic classic without losing that familiar childhood flavor everyone loves.

My Tried-and-Tested Upgrades (The Secret to Chewiness)
As a recipe developer and mom, I’ve put a lot of mileage on this recipe to make it completely foolproof. Through trial and error, I discovered two non-negotiable secrets that transform average bars into bakery-level masterpieces:
1. The 3/4 Marshmallow Melt (Your New Golden Rule)
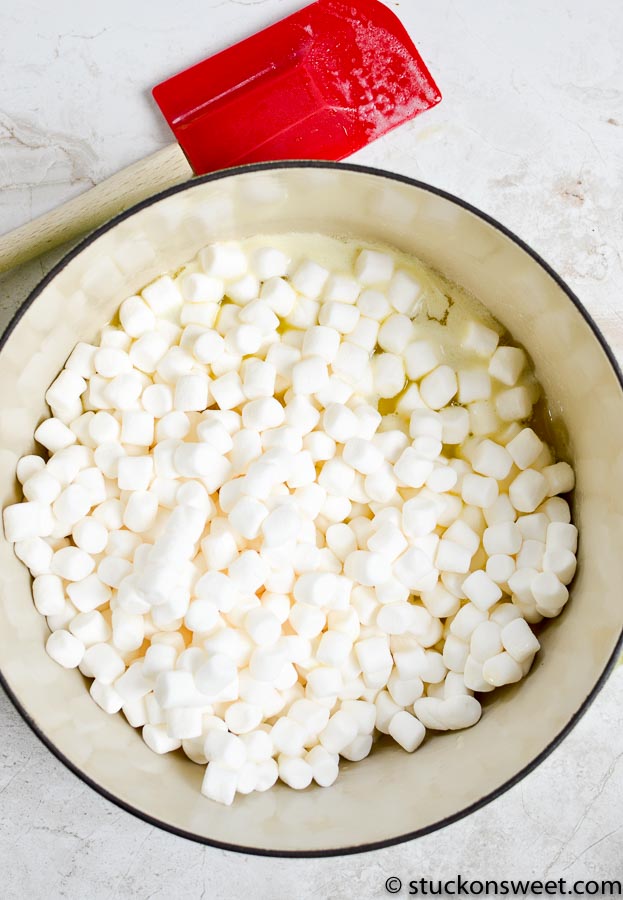
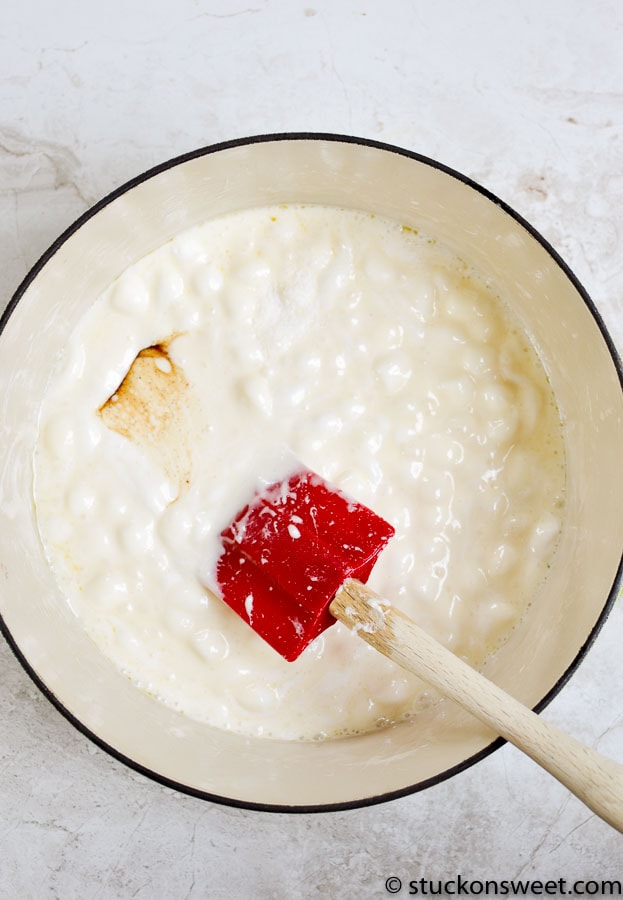
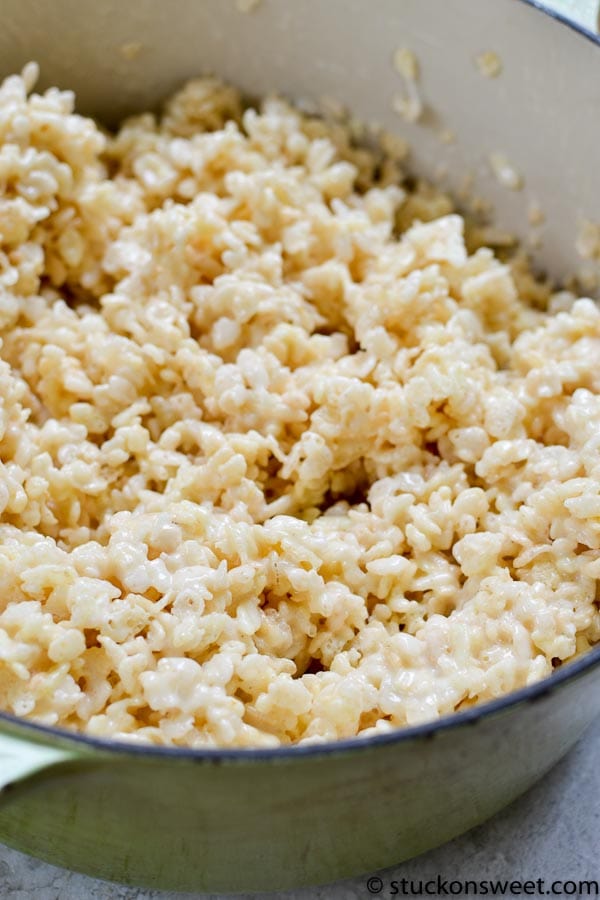
Most recipes tell you to stir the marshmallows until they completely liquefy. Don’t do it. When you over-melt marshmallows, the sugar crystallizes as it cools, leading to rock-hard treats. My secret? Stop stirring when the marshmallows are only 3/4 melted. Leaving soft, visible marshmallow clumps in the pot creates these magical, gooey pockets throughout the bars after you mix in the cereal.
2. Micro-Browning the Butter
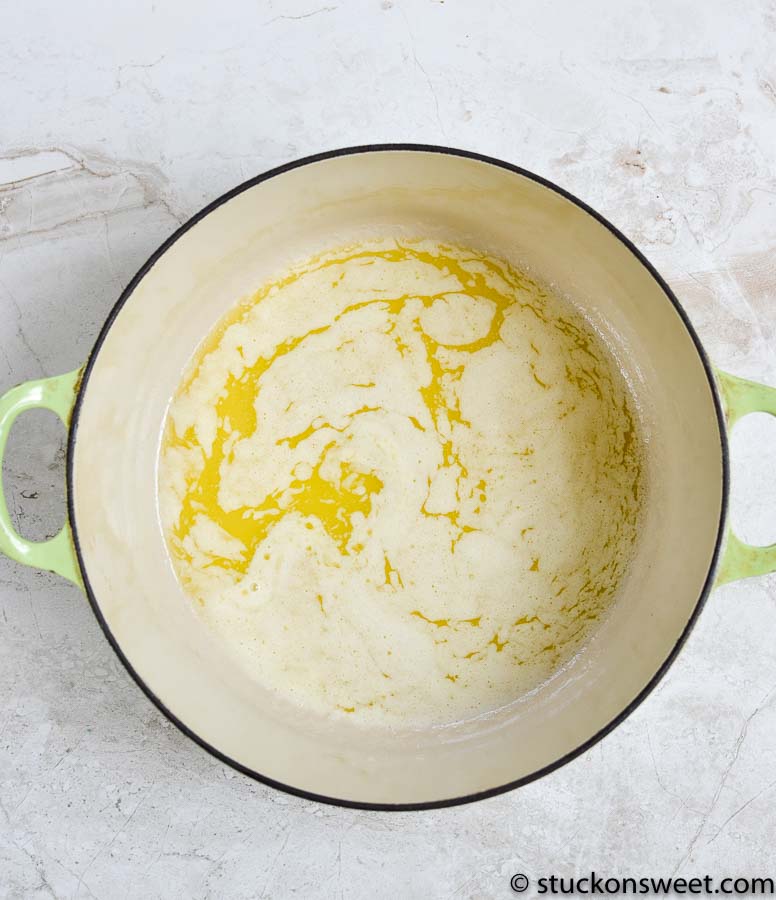
Some gourmet recipes on Pinterest tell you to brown the butter until it’s deep, dark, and tastes like caramel. I found that completely overpowers the classic cereal taste. Instead, I watch the stove carefully and only cook the butter until it is lightly golden and smells slightly nutty. It adds an incredible depth of flavor while keeping things familiar and family-friendly.
The Ingredients & Directions
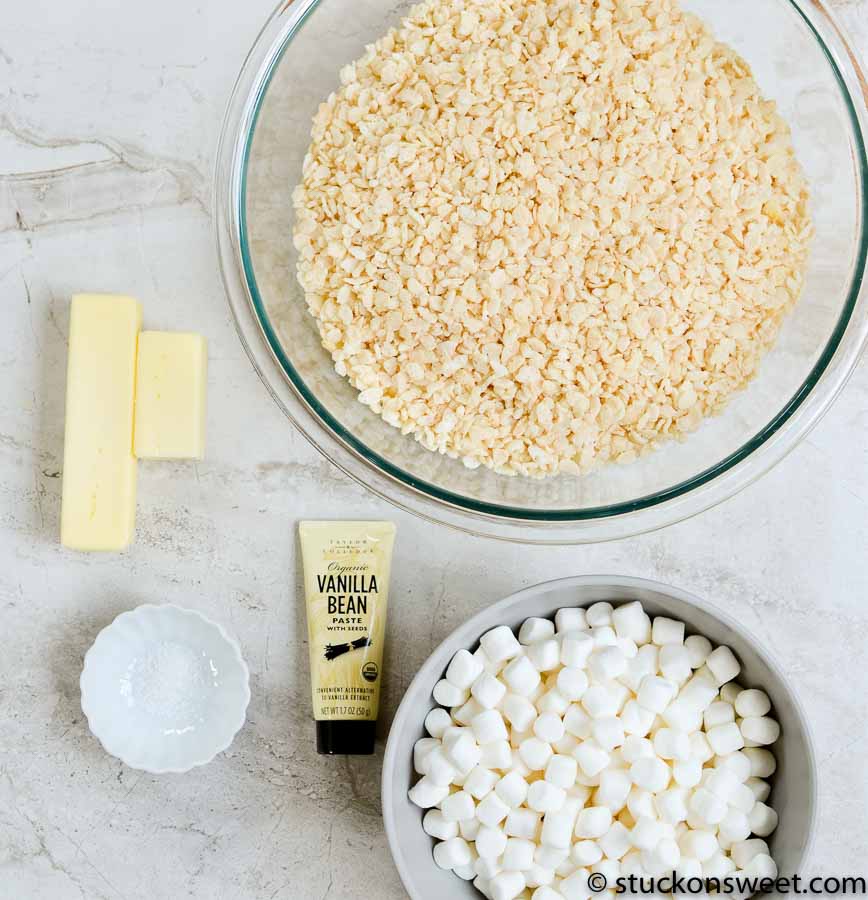
To make these rice crispy treats, you only need 5 simple ingredients. Because this no-bake recipe moves incredibly fast once the stove is hot, I highly recommend having everything measured out beforehand!
Scaling This Recipe: 9×13 Pan vs. 8×8 Pan
I always make this recipe in a classic 9×13-inch baking dish to feed my family, but it scales down beautifully if you want a smaller batch.
- For thick, bakery-style 9×13 bars: Follow the recipe exactly as written below.
- For a smaller 8×8 or 9×9 square pan: Cut all the ingredients exactly in half (use 6.5 tablespoons of butter, 1 bag of marshmallows, and roughly 4.75 cups of cereal). The cooking steps and the 3/4 melting technique remain exactly the same!
Troubleshooting Common Rice Krispie Mistakes
Even though this is a simple, no-bake dessert, small errors can ruin the texture. If your treats aren’t turning out perfectly, here is how to fix them:
- Problem: The treats feel dry or break apart. This happens if you skimp on the butter or use stale marshmallows. Marshmallows lose their moisture content as they sit in the pantry, so always buy fresh, soft bags specifically for this recipe.
- Problem: The treats are too sticky to cut. If your kitchen is warm, the marshmallows won’t set up firmly. Pop the pan into the refrigerator for just 10 to 15 minutes to let the butter firm up, then bring them back to room temperature before slicing.
- Problem: The cereal feels soggy. Make sure you do not add the Rice Krispies while the pot is still sitting directly on a hot burner. Always remove the pot from the heat completely before folding in the cereal.
🎨 Easy Recipe Variations and Fun Mix-ins
Once you master my base marshmallow method, you can easily customize these bars for birthdays, holidays, or school bake sales. Try folding in these additions alongside the cereal:
- Loaded Chocolate Chip: Fold in 1/2 cup of mini chocolate chips at the very end so they form tiny melty ribbons without entirely dissolving.
- Funfetti Birthday Bars: Toss 3 tablespoons of rainbow sprinkles into the pot right before pressing the mixture into the pan.
- Peanut Butter Twist: Melt 1/3 cup of creamy peanut butter directly into the warm brown butter before adding your marshmallows.
💡 Expert Tips from My Kitchen to Yours
- Prep Before You Cook: Once those marshmallows hit the warm pot, things move rapidly. Make sure your 9×13 pan is lined or greased and your cereal is measured out before you even turn on the stove.
- Never Skimp on the Butter: The secret to shelf-life and softness is fat content. Stick to the 13 tablespoons—it’s what keeps them tasting fresh and soft for days in an airtight container.
- Keep Them Out of the Fridge: Cold temperatures harden the butter fats and dry out the treats. Keep them on the counter at room temperature!
❓ Frequently Asked Questions (FAQs)
Why do my Rice Krispie treats turn out hard?
They turn hard because the marshmallows were over-melted on high heat (which turns the sugar into hard candy), or the mixture was packed too tightly into the baking pan. Keep your heat low, leave marshmallow pockets un-melted, and press gently!
Can my kids make this recipe safely?
Absolutely! This is one of my favorite recipes to make with my children because it’s entirely no-bake. An adult should handle or supervise the butter-browning step on the stove, but kids excel at dumping in the marshmallows, pouring the cereal, and gently smoothing the treats into the pan.
How do you keep Rice Crispy treats soft for days?
Store them in a tight, airtight container at room temperature with a sheet of wax paper between the layers. The high butter ratio in this tested recipe naturally prevents them from drying out quickly.
Share Your Treats With Me!
I can’t wait for you to try this technique and see just how much of a difference those gooey marshmallow pockets make! If you make these Gooey Brown Butter Rice Krispie Treats, please leave a comment and a star rating below—I love hearing how they turn out in your kitchen. And don’t forget to snap a photo and tag me on Instagram at @stuckonsweet so I can see your perfect, chewy creations!
Best Rice Krispie Treats (Perfectly Soft & Chewy)
An upgraded classic no-bake dessert featuring crispy puffed rice cereal folded into melted mini marshmallows and lightly browned butter. A touch of kosher salt and vanilla enhance the depth, while a final sprinkle of flaky sea salt creates the ultimate sweet, chewy, and crunchy treat.
Ingredients
- 13 tablespoons unsalted butter
- 2 (10-ounce) bags mini marshmallows
- 1 teaspoon vanilla extract
- 1/4 teaspoon kosher salt
- 9 1/2 cups Rice Krispies cereal
- Flaky sea salt, for topping
Instructions
- Lightly spray a 9x13-inch baking dish with nonstick spray or line with parchment paper.
In a large pot or Dutch oven, melt 13 tablespoons unsalted butter over medium heat. - Continue cooking for 2-4 minutes, stirring often, until the butter becomes lightly golden and smells slightly nutty. You want lightly browned butter here, not dark brown butter.
- Reduce the heat to low and add both 10-ounce bags of mini marshmallows. Stir frequently until the marshmallows are about 3/4 melted. There should still be visible soft clumps of marshmallows remaining throughout the mixture.
- Remove the pot from the heat and gently stir in 1 teaspoon vanilla extract and 1/4 teaspoon kosher salt.
- Add 9 1/2 cups Rice Krispies cereal and gently fold everything together until evenly coated. Be careful not to crush the cereal while stirring.
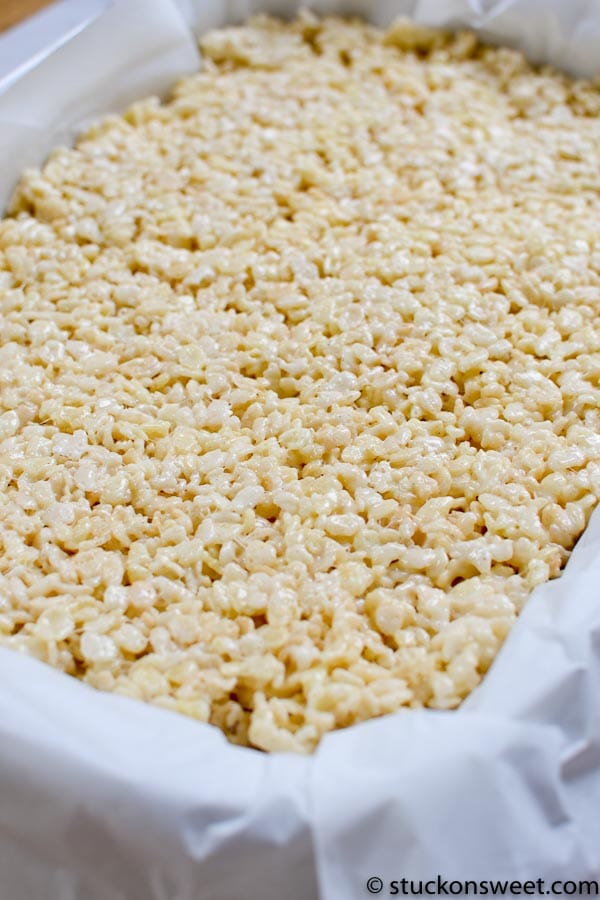
- Transfer the mixture to the prepared baking dish and GENTLY press it into an even layer using a buttered spatula or lightly greased hands. Don’t firmly pack the mixture down or the treats can become hard and dense.
- Sprinkle the tops lightly with flaky sea salt.
- Let cool for 1 hour before slicing into squares and serving.
Nutrition Information:
Yield:
12Serving Size:
1Amount Per Serving:Calories: 220Total Fat: 17gSaturated Fat: 9gUnsaturated Fat: 8gCholesterol: 33mgSodium: 1074mgCarbohydrates: 166gFiber: 1gSugar: 20gProtein: 14g
Nutrition information is automatically calculated. Use as an approximation only.



These look adorable Jessica:)